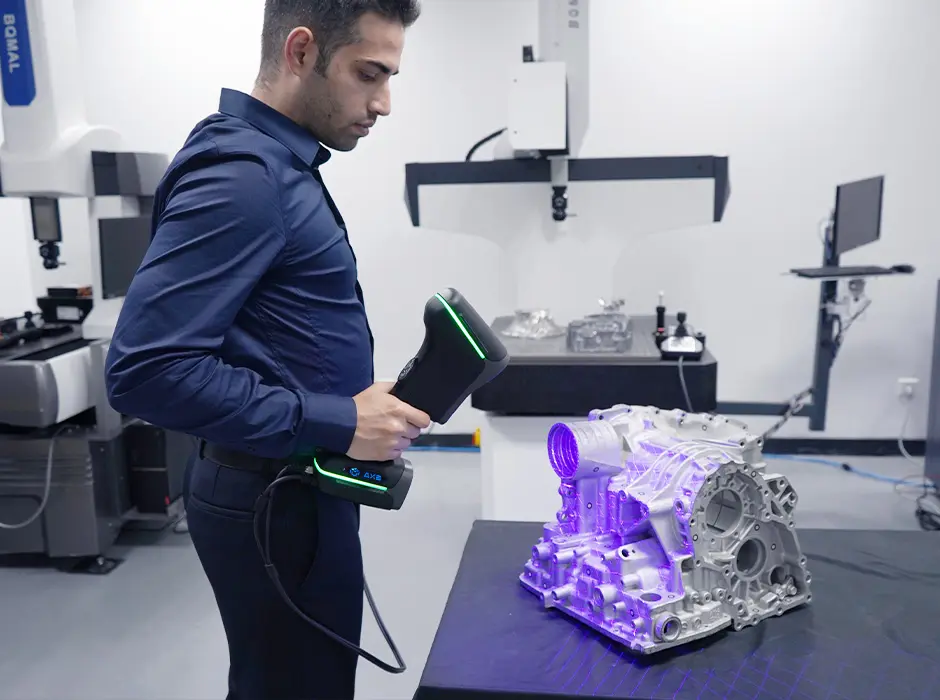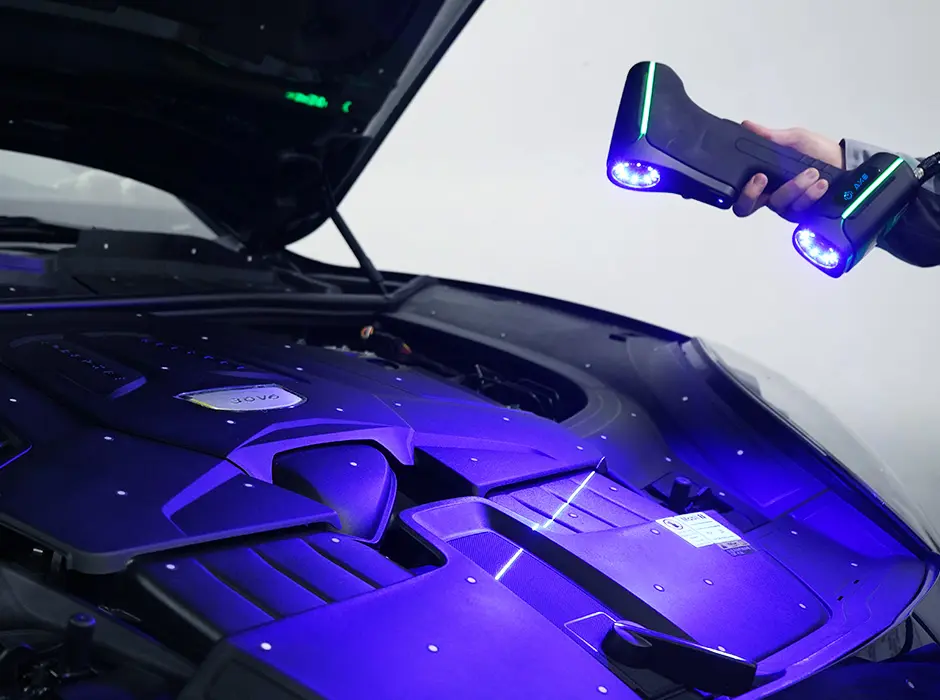
AXE-B 3D Scanner
AXE-B 3D model scanner utilizes optical measurement technology with a maximum scanning speed of 2,000,000 measurements/s, quickly capturing 3D data of the object and getting precise deviations on the geometric surface.
Features:
- Ultra-wide scanning area of 860 mm x 600 mm
- Up to 2,000,000 measurements/s
- Accuracy Up to 0.020 mm
Extreme-fast Response
AXE-B 3D model scanner has the maximum of 17 crossed blue laser lines that enable extremely fast and precise response with up to 2,000,000 measurements/s, offering extraordinary work efficiency.


Versatile Stand-alone Operation
Our AXE-B scanner features flexible working modes tailored to different scanning needs: high-speed scanning for efficient results and precise deep hole scanning for intricate positions such as deep holes and challenging angles. It enables accurate 360° real-time 3D inspections independently, allowing for efficient and precise assessments of medium to large-sized workpieces while working alone.

For any inquiry regarding AXE-B 3D Scanner
Revolutionary Patent for Wide-Angle Vision
Our cutting-edge photogrammetry system sets a global standard for measuring medium to large-sized objects, boasting a volumetric accuracy of 0.030 mm/m. With an expansive scanning area of 860 mm × 600 mm, enjoy an unparalleled 3D scanning experience.

Technical Specifications
| Type | AXE-B17 | AXE-B11 | |
| Scan mode | Ultra-fast scanning | 17 blue laser crosses | 11 blue laser crosses |
| Deep hole scanning | 1 extra blue laser line | ||
| Accuracy(1) | Up to 0.020 mm (0.0008 in) | ||
| Measurement rate up to | 2,000,000 measurements/s | 1,300,000 measurements/s | |
| Scanning area up to | 860 mm × 600 mm (33.9 in × 23.6 in) |
550 mm × 600 mm (21.7 in × 23.6 in) |
|
| Scan mode (Photogrammetry) |
Scanning area up to | 3760 mm × 3150 mm (148.0 in × 124.0 in) |
2500 mm × 3000 mm (98.4 in × 118.1 in) |
| Depth of field | 2500 mm (98.4 in) | ||
| Laser class | CLASSⅡ (eye-safe) | ||
| Resolution up to | 0.025 mm (0.0009 in) | ||
| Volumetric accuracy (2) |
Work alone | 0.020 mm + 0.030 mm/m (0.0008 in + 0.00036 in/ft) |
0.020 mm + 0.035 mm/m (0.0008 in + 0.0004 in/ft) |
| Work with 1m reference bar | 0.020 mm + 0.020 mm/m (0.0008 in + 0.00024 in/ft) |
||
| Work with MSCAN-L15 | 0.020 mm + 0.012 mm/m (0.0008 in + 0.00014 in/ft) |
||
| Stand-off distance | 300 mm (11.8 in) | ||
| Depth of field | 500 mm (19.7 in) | ||
| Output formats | .stl, .obj, .ply, .asc, .igs, .txt, .mk2, .umk and etc. | ||
| Operating temperature range | -10°C–40°C (14℉-104℉) | ||
| Interface mode | USB 3.0 | ||
| Patents | CN204329903U, CN104501740B, CN104165600B, CN204988183U, CN204854633U, CN204944431U, CN204902788U, CN105068384B, CN105049664B, CN204902784U, CN204963812U, CN204902785U, CN204902790U, CN106403845B, CN209197685U, CN209263911U, CN206905709U, CN107202554B, US10309770B2, KR102096806B1, KR102209255B1, US10914576B2CN204329903U, CN104501740B, CN104165600B, CN204988183U, CN204854633U, CN204944431U, CN204902788U, CN105068384B, CN105049664B, CN204902784U, CN204963812U, CN204902785U, CN204902790U, CN106403845B, CN209197685U, CN209263911U, CN206905709U, CN107202554B, US10309770B2, KR102096806B1, KR102209255B1, US10914576B2 | ||
| (1) ISO 17025 accredited: Based on VDI/VDE 2634 Part 3 standard and JJF 1951 specification, probing error (size) (PS) performance is evaluated. (2) ISO 17025 accredited: Based on VDI/VDE 2634 Part3 standard and JJF 1951 specification, sphere spacing error (SD) performance is evaluated. |
|||
