KSCAN-Magic
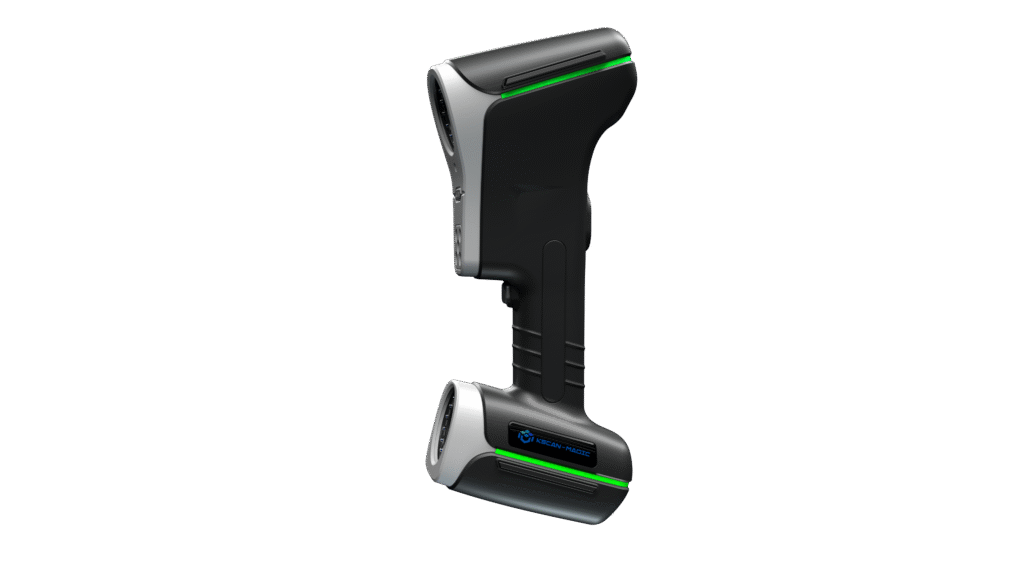
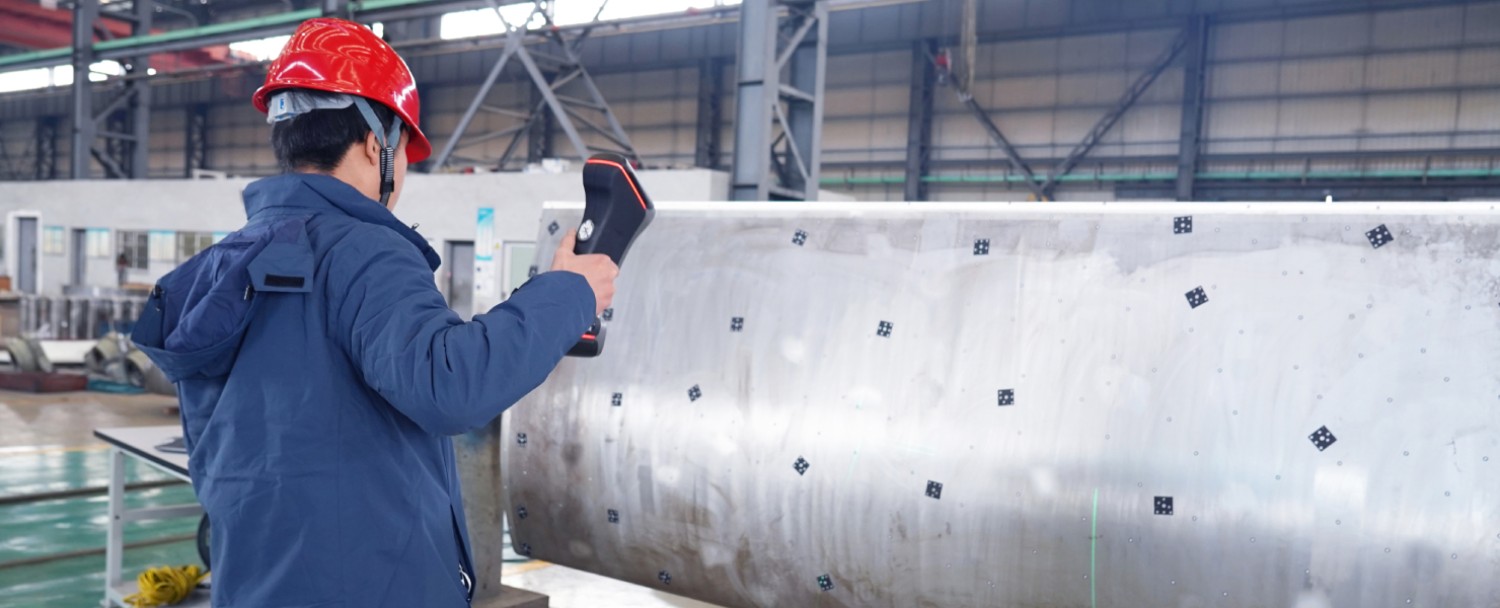
KSCAN-Magic Upgrade Series, the cutting-edging composite 3D scanner that integrates infrared and blue lasers in one versatile instrument, caters to diverse applications. This composite 3D scanner boasts five standard operating modes: large-area scanning with parallel infrared lasers, ultra-fast scanning with blue laser crosses, hyperfine scanning with blue parallel lasers, deep-hole scanning with a single blue laser, and a built-in large-area photogrammetry system.
Metrology-grade NDT Measuring


Flexible Uses

Five Modes at Your Fingertips
For any inquiry regarding our Kscan Magic

Large-area Scanning
KSCAN-Magic innovatively adopts large-area scanning powered by 11 infrared parallel laser lines. Its ultimate scanning area reaches 1440 mm × 860 mm, achieving wide-range measurement with ease.

Ultra-fast Scanning
It can 3D scan with 17 blue laser crosses and capture up to 4,150,000 measurements per second, greatly improving work efficiency.

Deep Hole Scanning
This mode can accurately capture 3D data of deep holes and hard-to-reach areas.

Hyperfine Scanning
With 7 parallel blue laser lines, KSCAN-Magic Upgrade Series 3D scanner can accurately obtain complete data of complex objects, easily capturing every detail with a maximum resolution of 0.010 mm.

Built-in Large-area Photogrammetry
The built-in infrared photogrammetry system, with a shooting area of 3760 mm * 3150 mm, can efficiently reduce the accumulated errors caused by large-sized measurements, ensuring volumetric accuracy. It is especially suitable for scanning large-sized objects, and measuring efficiently without compromising on accuracy.
Technical Specifications
| Type | KSCAN-Magic | KSCAN-MagicⅡ | |
| Scan mode | Ultra-fast scanning | 11 blue laser crosses | 17 blue laser crosses |
| Hyperfine scanning | 7 blue parallel laser lines | ||
| Large area scanning | 11 parallel infrared laser lines | ||
| Deep hole scanning | 1 extra blue laser line | ||
| Accuracy(1) | Up to 0.020 mm (0.0008 in) | ||
| Scanning rate up to | 2,700,000 measurements/s | 4,150,000 measurements/s | |
| Scanning area up to | 1440 mm × 860 mm (57.0 in × 33.9 in) | ||
| Laser class | CLASS Ⅱ (eye-safe) | ||
| Resolution up to | 0.010 mm (0.0004 in) | ||
| Photogrammetry system | Scanning area | 3760 mm × 3150mm (148.0 in × 124.0 in) | |
| Depth of field | 2500 mm (98.4 in) | ||
| Volume accuracy(2) | Work alone | 0.015 mm + 0.030 mm/m (0.0006 in + 0.00036 in/ft) | |
| Work with 1m reference bar | 0.015 mm + 0.020 mm/m (0.0006 in + 0.00024 in/ft) | ||
| Work with MSCAN-L15 | 0.015 mm + 0.012 mm/m (0.0006 in + 0.00014 in/ft) | ||
| Stand-off distance | 300 mm (11.8 in) | ||
| Depth of field | 925 mm (36.4 in) | ||
| Output formats | .stl, .obj, .ply, .asc, .igs, .txt, .mk2, .umk and etc. | ||
| Operating temperature range | -10℃-40℃ (14℉-104℉) | ||
| Interface mode | USB 3.0 | ||
| Patents | CN204329903U, CN104501740B, CN104165600B, CN204988183U, CN204854633U, CN204944431U, CN204902788U, CN105068384B, CN105049664B, CN204902784U, CN204963812U, CN204902785U, CN204902790U, CN106403845B, CN209197685U, CN209263911U, CN106500627B, CN106500628B, CN206132003U, CN206905709U, CN107202554B, CN209310754U, CN209485295U, CN209485271U, CN305446920S, CN209991946U, US10309770B2, KR102096806B1,KR102209255B1, US10914576B2 | ||
|
(1) ISO 17025 accredited: Based on VDI/VDE 2634 Part 3 standard and JJF 1951 specification, probing error (size) (PS) performance is evaluated. (2) ISO 17025 accredited: Based on VDI/VDE 2634 Part3 standard and JJF 1951 specification, sphere spacing error (SD) performance is evaluated. |
|||
